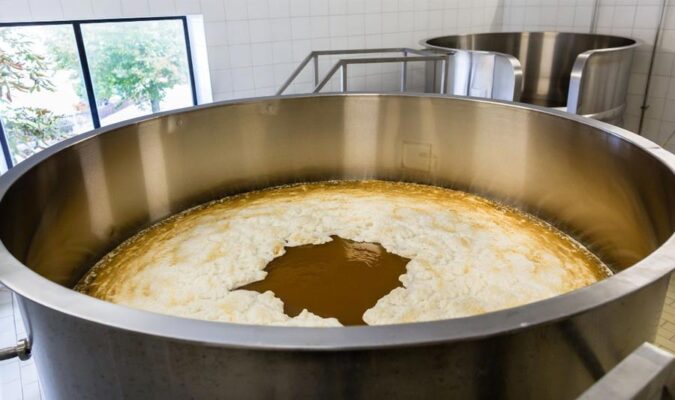
This is one of the most focused parts of the brewing process, and the most intimidating step for most new brewers, but chilling your wort is easier than you might think. Cool the wort as soon as possible after boiling to allow the yeast to settle and start fermentation, thereby avoiding potential bacterial infection. The sooner we cool the wort the better! You can cool your wort in different ways and at different speeds using a variety of techniques.
Why cool the wort?
After boiling, the wort needs to be cooled for several reasons. The wort needs to be cold enough for the yeast to survive and function well in brewing beer. Most brewer’s yeast does best between 20–22°C (68–72°F); most brewer’s yeast does best at 45–57°F (7–14°C). If the temperature is too high, the yeast will be killed. If the temperature is too cold, you can let it go dormant.
Dormant yeast is better than killing it, as the yeast will reawaken when the wort warms to room temperature. But, this also has its dangers. If you let the yeast sit too long without it fermenting, it can allow bacteria to do their job, leading to infection and bad smells.

Disadvantages of cooling too
Although every winemaker is clean, there are microscopic bacteria everywhere. Cooling the wort is one of the most critical stages in the brewing process, as it is at its most susceptible to bacterial infection.
The longer the wort is cooled, the more likely it is to be contaminated in some way, especially if it is not covered and sealed. As the wort cools down , at a certain temperature, any bacteria present will start multiplying if given the slightest chance. So that’s why you want to cool the wort as soon as possible, get it into the fermentation vessel, and throw in the yeast as soon as possible.
Use special equipment for cooling wort
There are some very popular kits that many homebrewers use, they are called wort coolers (for obvious reasons). There are different models, but they all do the same thing, remove heat from the wort.
Immersion Wort Cooler
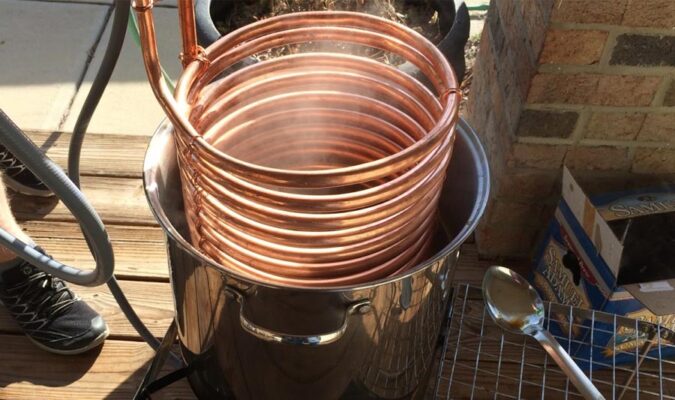
Immersion wort coolers are the most popular and least expensive home brew wort coolers. They are a coil of copper or stainless steel tubing with hoses attached to each end. These coolers are put on the boil for the last 15 minutes (to kill any possible bacteria). After the heat is turned off, cold water runs through the cooler to remove heat from the wort. Recirculation or gentle agitation is required to maximize heat exchange in the tubes. Depending on the time of year, it takes 15 to 30 minutes.
Counterflow Wort Cooler
Counterflow wort cooler kits are much more complex than their simple immersion counterparts. A counter flow wort cooler is not placed in the wort but is an external unit that you can place on the boil pot or even the fermenter or wherever you want depending on the length of piping you are using. Pumping hot water through one pipe and cold water in the opposite direction through the other is a form of heat exchange.
Deskový chladič
This is the most complex kit, and it is the most effective for cooling the wort. A plate cooler is a small piece of equipment that works on the same principle as a counterflow wort cooler, i.e. wort and water are forced through it.
Instead of having the wort and water in contact only through the walls of the tubes, a series of heat exchange plates transfer heat from the wort to the cooler water. It happens so that the wort is already cooled when it comes out of the outlet valve.

Use ice water to cool
For faster results from the wort cooler, ice water can be piped. Instead of running regular tap water through a garden hose. Although by forcing the water through the narrow hose, the water cools down a bit, it doesn’t get cold.
If you draw water from an ice bucket or other container, or even install an more wort cooler that sits in the ice water bucket before running through the wort, you can reduce the need to cool the wort to the ideal pitching temperature time.
Cool using natural methods
Ice baths are a tried and true natural method. All that is required is to fill a sink, tub, or other large container with ice and water, and place the kettle in it. The pot can be covered and filled with ice cubes as at this stage all the DMS causing the off-flavor should escape during the boiling phase.
In this way, the wort cools down a bit faster than if left in the open air due to the cooler surrounding ice/water.
Choose the right brewer
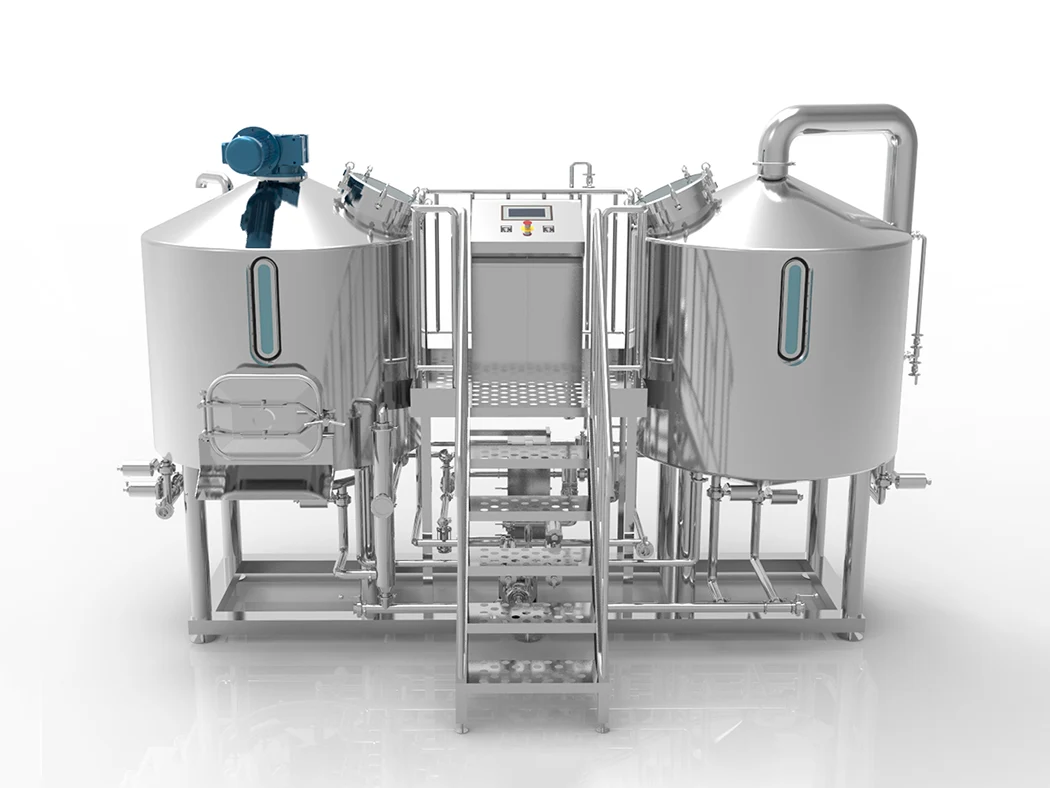
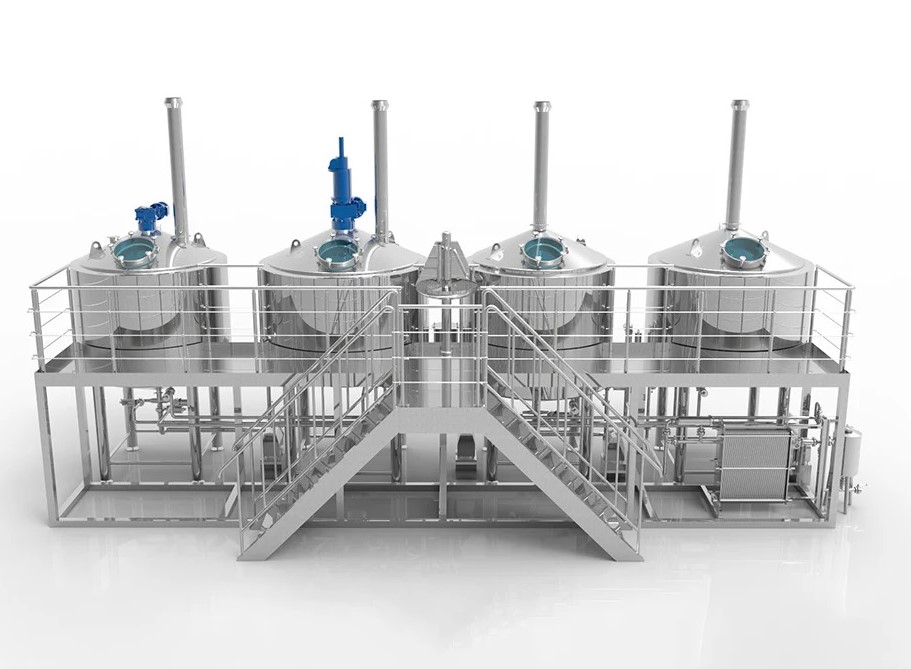
Another important thing to consider when trying to chill wort without any fancy kit is the type of vessel it’s in. Most pivovarské vybavení is made of stainless steel due to its durability, but steel conducts heat poorer than aluminum or copper. If you can’t get a copper pan in the size you need, get an aluminum pan, or if that doesn’t work, switch to a stainless steel container.
Chilling your wort is an important part of your brew day, but it doesn’t have to cost a fortune. Although time consuming, more natural methods can be used to cool the wort.


