Homebrewing can be an incredibly rewarding and delicious hobby. However, the equipment required to brew beer at home can get quite expensive. Many beginner homebrewers are shocked when they start adding up the costs for kettles, fermenters, kegs, burners, chillers, and all the other gear needed to brew beer from scratch.
Fortunately, with a bit of creativity and compromise, it is possible to assemble a functional homebrew setup on a budget. This guide will explore strategies for sourcing discount equipment and building your own rig to cut costs. We’ll also compare cheaper alternatives for essential brewing hardware against more expensive versions.
Overview of Cheap Brewing Equipment Options
When trying to save money on a homebrew system, focus on getting good deals on the core essentials:
Brewing Vessels
- Inexpensive kettles – thinner stainless steel or aluminum stockpots
- Plastic buckets or PET carboys instead of glass carboys
- Repurposed or secondhand commercial equipment
Fermentation Vessels
- Food-grade plastic buckets
- Repurposed plastic containers
- Mini-kegs or corny kegs
Burners & Heat Sources
- Propane burner from hardware store
- Electric heat sources – stovetop, induction burner, electric kettle
Chilling Equipment
- Pre-chilled water in bucket or sink full of ice water
- Immersion chiller built from copper tubing
Accessories
- Shop towels for straining
- Reused commercial SAN kegs as fermenters
- Build your own stir plates and yeast starters
With some creativity, homebrewers can assemble complete brewing systems for a fraction of the cost of turnkey setups from homebrew shops. Let’s look at some specific recommendations for sourcing discount brewing hardware.
Buying Used and Reconditioned Brewing Equipment
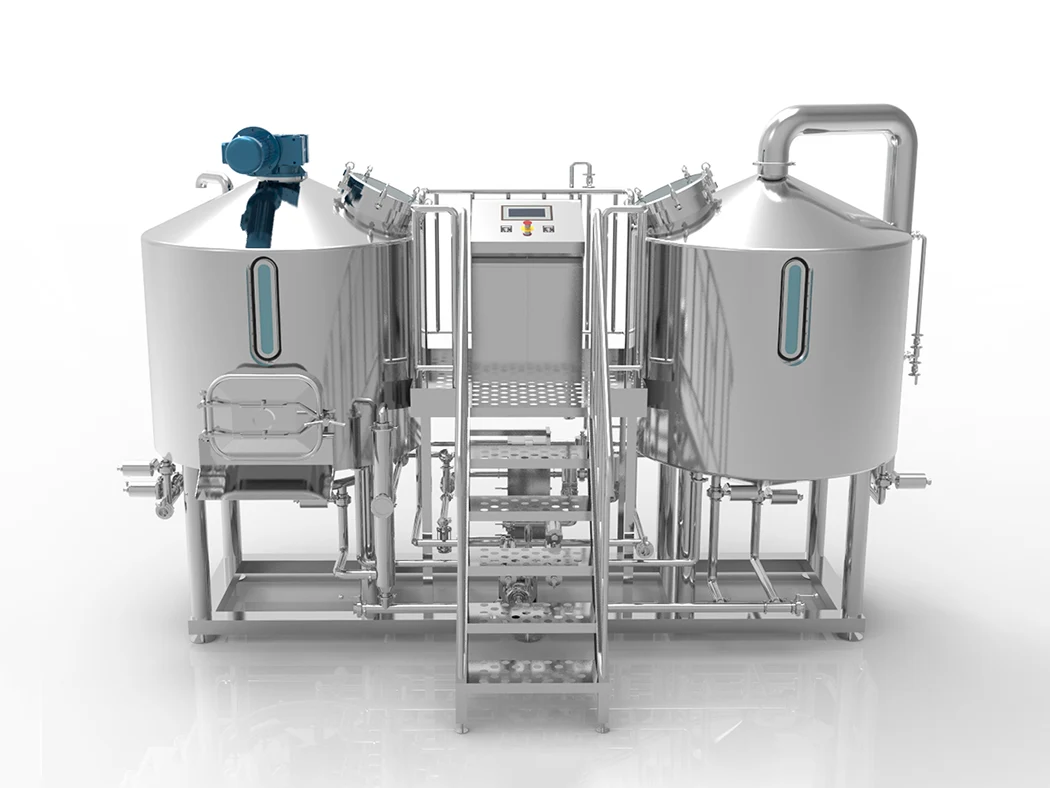
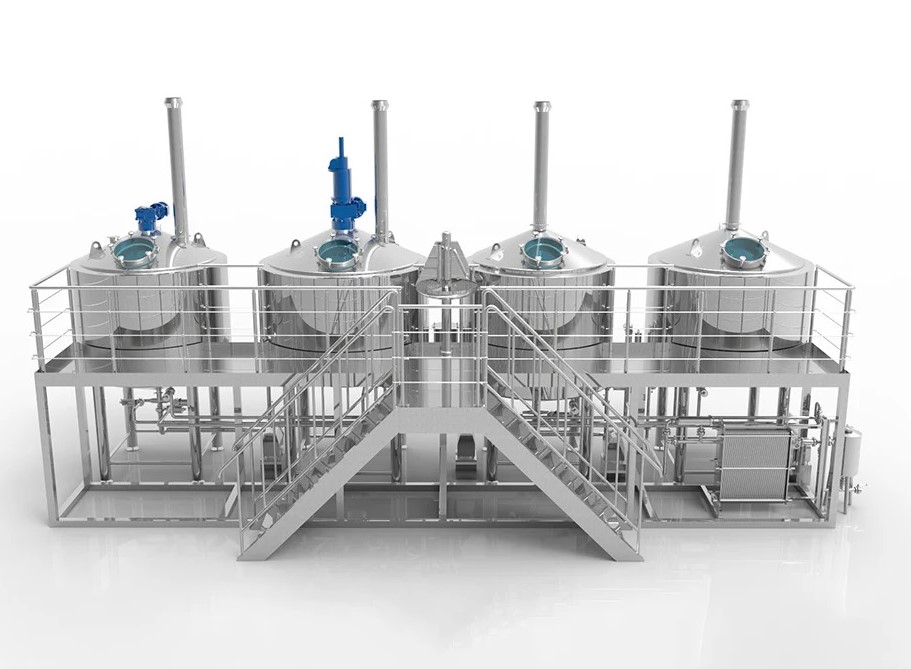
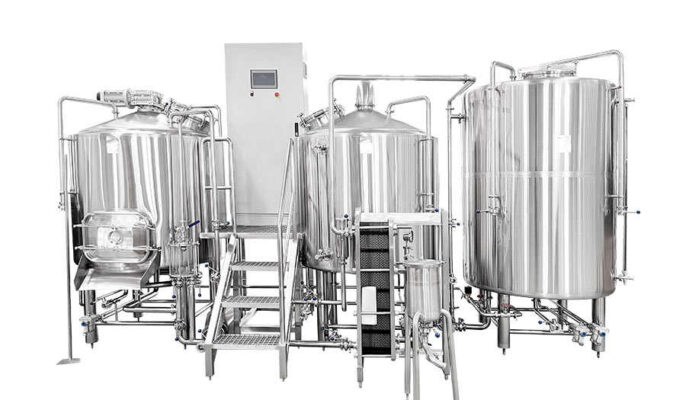
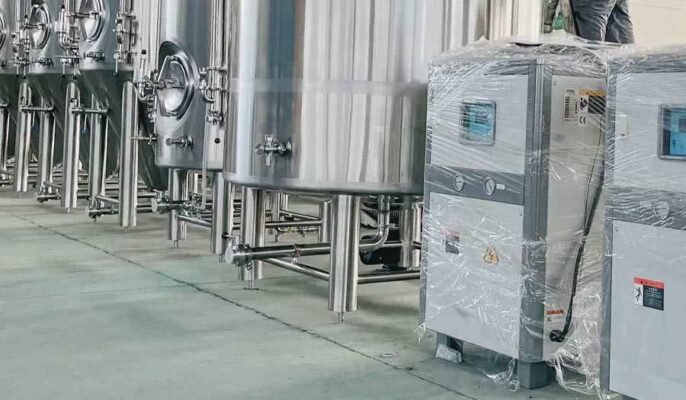
One of the best ways to save money on major brewing gear is to buy used equipment. Commercial breweries frequently upgrade their operations and sell off their old stainless steel tanks, kegs, burners, and other hardware. Homebrew clubs or local breweries are great resources to find used equipment.
Items to look for:
- Stainless kettles – Scrub away corrosion and replace valves/fittings
- Kegs – Recondition commercial kegs for home use
- Burners – Clean and test commercial burners
- Chillers – Inspect plates on plate chillers, replace gaskets
With some elbow grease, used commercial gear can be restored to like-new condition at a fraction of the original price. Be sure to thoroughly clean and sanitize any used equipment.
Building Your Own Brewing Equipment
Constructing your own brewery gear is a great way to customize your setup exactly how you want it on a budget. Many homebrewers get into welding and metalworking to fabricate kettles, burners, and chillers.
Some ideas for DIY builds:
- Kettles – Weld together stainless sheet metal or polish aluminum beer kegs
- Burners – Assemble propane burner from gas fittings and metal stand
- Chillers – Make immersion chiller from copper tubing and garden hose fittings
- Keggles – Cut the top off a sanke keg to make a brew kettle
- Mash Tuns – Use an igloo cooler with PVC manifold and false bottom
With some simple power tools and materials from the hardware store, the possibilities are endless for homebrewers willing to put in some work. Be sure to follow all safety precautions when working with pressurized gases, pumps, and electricity.
Buying Discount New Brewing Equipment
For those who prefer to buy new brewing gear rather than used or DIY options, there are still plenty of ways to save:
- Starter kits – Basic kits have minimal equipment but lower cost
- Kettles – Thinner stainless or aluminum kettles are cheaper
- Plastic fermenters – Food-grade buckets are inexpensive
- Cheap burners – Hardware store propane burners under $50
- Clearance sales – Check for discounted floor models or old stock
- Group buys – Split costs by buying in bulk with other homebrewers
Saving money on new equipment means compromising on some quality and features. But cheaper kettles, carboys, and burners can produce award-winning homebrew. Focus on value picks that get the job done without extra bells and whistles.
Choosing the Best Brewing Equipment on a Budget
When selecting budget homebrew gear, keep these criteria in mind:
Kettles
- 5-10 gallon capacity for small batches
- Stainless steel or aluminum for durability
- Thick enough bottoms for even heat – 1-2mm minimum
- Avoid thin single-layer kettles that scorch wort
Fermenters
- Food-grade plastic (HDPE, PET) or glass
- 5-6.5 gallon batch size
- Bucket lids and airlocks for sealing
- Smooth surfaces for easy cleaning
Burners
- 20,000+ BTU output for boiling
- Sturdy frame with wind protection
- Hose and regulator included for propane
- Easy to adjust flame
Chillers
- 25+ feet of 1/4″ or 3/8″ copper tubing
- Quick chill times – under 15 minutes for 5 gal
- Simple design without leaks
- Easy to disassemble and clean
While it’s tempting to buy the cheapest options to save money, carefully inspect equipment for potential downsides. Pay special attention to materials, durability, and ease of use when comparing cheaper alternatives against more expensive ones.
Cheap Kettle Options for Brewing
The boil kettle is one of the largest investments for a homebrew setup. Here are some budget-friendly kettles to consider:
| Kettle | Material | Pros | Cons | Price |
|---|---|---|---|---|
| Stockpot | Stainless Steel | Inexpensive, available | Thin bottoms, smaller sizes | $30-60 |
| Aluminum | Affordable, conducts heat | Reactive, dents easily | $20-40 | |
| Brew Kettle | Stainless Steel | Thicker material, better heat distribution | Only comes in large sizes | $80-150 |
| Keggle | Stainless Steel | Reuse free vessel, thicker stainless | Used, curved shape may not work with some burners | $0-50 |
- Stockpots – Cheap, readily available. But thin bottoms lead to scorching.
- Aluminum kettles – Affordable but highly reactive and prone to dents.
- Brew kettles – Optimized for brewing but only cost-effective at 10+ gallon sizes.
- Keggles – Repurposed kegs make decent kettles. Caution with sanitation.
Overall, a 5-10 gallon stainless stockpot offers the best value for boiling small homebrew batches. Add a trivet or diffuser to prevent scorching if the material is thin. For larger batches, a converted keg is a cheap way to get more stainless steel volume.
Best Fermenter Options on a Budget
Fermenters don’t need to be expensive. Here are some budget-friendly fermenters for homebrewing:
| Fermenter | Material | Pros | Cons | Price |
|---|---|---|---|---|
| Plastic Bucket | HDPE | Inexpensive, easy to source | Scratches, not transparent | $10-20 |
| Glass Carboy | Glass | Impervious to scratches, transparent | Heavy, fragile, pours slowly | $20-40 |
| PET Carboy | Plastic | Impervious to scratches, transparent | Can be brittle over time | $20-30 |
| Corny Keg | Stainless Steel | Reusable, easy to clean | Used, may need new seals | $0-30 |
- Plastic buckets – Extremely cheap but prone to scratches over time.
- Glass carboys – Excellent clarity but heavy and require careful handling.
- PET carboys – Lightweight plastic alternative to glass but can get brittle.
- Corny kegs – Free if you can source used kegs and replace seals.
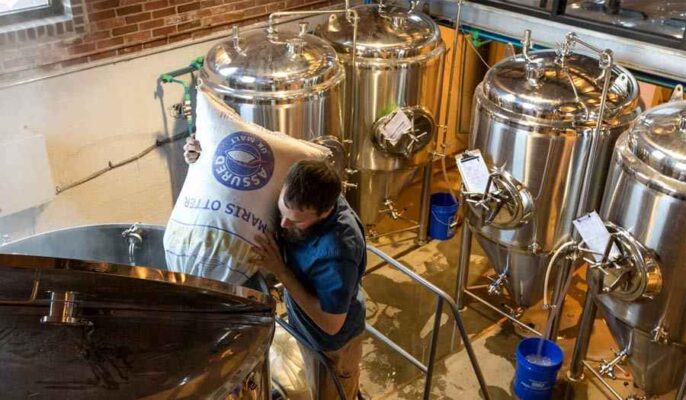
For primary fermentation, plastic buckets offer incredible value. For secondary or aging, glass or PET carboys are better options that won’t scratch and degrade over time. Used corny kegs make interesting hybrid fermenter/serving vessels. Compare material durability and replacement costs when choosing budget fermenters.
Discount Burner and Heat Source Options
You don’t need fancy brewing-specific burners to heat your kettle. Consider these budget burner options:
| Burner | Type | Pros | Cons | Price |
|---|---|---|---|---|
| Propane Burner | Portable propane | Very inexpensive, high BTU | Lower quality materials, more prone to rust | $30-60 |
| Turkey Fryer Kit | Propane burner + pot | Good value combo package | Large combined equipment size | $50-80 |
| Electric Kettle | Electric | Simple, safe indoor use | Longer boil times, expensive for larger volumes | $30-100 |
| Induction Burner | Electric | Fast, energy-efficient | Requires magnetic cookware | $50-150 |
- Propane burners – Extremely cheap but may rust quickly. Great for outdoor brewing.
- Turkey fryer kits – Convenient all-in-one propane burner and pot combo.
- Electric kettles – Limited capacity but safe for stoveless brewing.
- Induction burners – Fast and efficient but needs compatible steel cookware.
For propane burners, inspect materials and assembly to gauge longevity vs upfront cost. Electric options trade power for convenience. Pick based on brewing location and goals.
Cheap Options for Wort Chilling
Rapidly cooling boiled wort prevents contamination and unwanted flavor compounds. Here are some affordable ways to chill:
| Chiller | Type | Pros | Cons | Price |
|---|---|---|---|---|
| Ice Bath | Water immersion | Simple, no equipment needed | Slow chill times | $0 |
| DIY Copper IC | Coiled copper tubing | Effective, customizable | Time to build, risk of leaks | $30-60 in materials |
| Immersion Chiller | Coiled copper IC | Pre-built, quick chill times | More expensive, fixed sizes | $50-70 |
| Plate Chiller | Compact heat exchanger | Fastest chilling, stainless steel | High cost, risk of leaks, clogging | $100+ |
- Ice baths – Practically free but very slow chill times.
- DIY immersion chillers – Customizable and affordable but require assembly.
- Pre-built immersion chillers – Convenient but limited sizing options.
- Plate chillers – Fast and compact but expensive and require careful maintenance.
For homebrewers on a budget, DIY immersion chillers offer the best balance of cost, customizability, and performance. Carefully build and test for leaks before first use. Upgrade to a plate chiller down the road for speed and efficiency.
Accessories: Buying, Improvising, and DIY Options
Beyond the core brewing equipment, accessories like pumps, fittings, and capper can add up quickly. Consider these money-saving tips:
| Item | Buy | Improvise | DIY |
|---|---|---|---|
| Funnel | Plastic funnel | Cut bottle | Roll paper |
| Capper | Bench capper | Wood block | 3D print parts |
| Tubing | Vinyl tubing | Garden hose | Assemble from parts |
| Thermometer | Instant-read | Cooking thermometer | Arduino monitor |
| Stir Plate | Basic model | Small fan | Build with magnet & motor |
- Buy – Look for plastic or lightweight versions. Multi-use tools.
- Improvise – Repurpose kitchen, garage, and home items when possible.
- DIY – Print, build, or assemble your own accessories from raw materials.
Don’t overspend on accessories. Improvise and get creative with household items or tools from other hobbies before shelling out for specialized brewing accessories.
Strategies to Get Used Brewing Equipment for Free or Cheap
Used commercial gear can be an incredible value if you put in the work to recondition it. Try these tips for sourcing used equipment on the cheap:
- Check with local breweries – many upgrade equipment over time and sell old tanks and hardware.
- Talk to other homebrewers about spare equipment or group equipment shares.
- Watch for used equipment at homebrew club meetings and events.
- Check online auctions, Craigslist, and Facebook Marketplace for used listings.
- Sign up for brewery equipment liquidation email lists to get news of large sales.
- Ask at pubs or bars if they have any old kegs or taps to get rid of.
- Inspect carefully for damage and test before purchasing. Factor in reconditioning costs.
- Clean thoroughly and replace any gaskets, o-rings, and poppets to ensure good seals and prevent contamination.
- Be patient and wait for good deals rather than overpaying. Having flexibility on sizes and brands helps.
With some perseverance, it’s possible to score kettles, kegs, burners, and chillers for a fraction of retail price if you’re willing to put in the elbow grease. Maintain rigorous cleaning protocols when repurposing commercial equipment for homebrew use.
Buying in Bulk to Save on New Brewing Hardware
If buying new equipment, consider going in on bulk purchases with other local homebrewers to get volume discounts.
Tips for coordinated group buys:
- Find others interested in buying equipment via homebrew clubs or online forums.
- Agree on common equipment brands and sizes to consolidate orders.
- Research vendor discounts for large orders – 5+ units typical.
- Compare shipping costs for single large shipment vs. individual purchases.
- Use online document to coordinate group buy and payments.
- Verify order details and tracking as a group once placed.
- Plan logistics of distributing gear once delivered.
Buying in bulk means compromising on brands and customization, but volume discounts of 10-20% quickly add up across large equipment purchases. Splitting shipping costs also helps reduce the overall expense.
Maximizing Value with Starter Brewing Kits
Brewing starter kits offer an affordable way to get a complete set of basic equipment to start brewing. Typical components include:
- 5 gallon brew kettle
- 5 gallon fermenting bucket
- Bottle/carboy filler
- Hydrometer and test jar
- Cleaning and sanitizing chemicals
- Bottling supplies – caps, tubing, bottle capper
- Basic brewing ingredients – malt, hops, yeast
Starter kits provide limited customization but maximize value across all the essential equipment. Shop around for the best kit components and upgrades:
- Prioritize kettles and fermenters – avoid the cheapest options
- Look for all stainless steel kettles to avoid corrosion
- Upgrade to a glass or PET carboy as secondary fermenter
- Select kits with name-brand cappers and burners when possible
- Consider kits with upgrades like wort chillers and auto-siphons
- Compare kits across multiple vendors on pricing and components
While basic, starter kits establish a solid foundation at an affordable price point. Slowly upgrade components over time starting with those that most impact beer quality.
Common Places to Buy Discount Brewing Equipment
New homebrewers are often overwhelmed by the available options for sourcing equipment. Here are some of the most common places to buy discounted new and used gear:
Homebrew Shops
The classic local homebrew shop is a good place to physically see and compare products. Staff expertise helps guide purchases. Look for occasional sales and open box discounts.
Online Homebrew Retailers
Online shops like Northern Brewer, MoreBeer, and Adventures in Homebrewing offer lower prices due to lower overhead. Look for coupon codes and bulk purchase discounts.
Manufacturer Direct
Some equipment like kettles and burners can be purchased directly from manufacturers, saving retail markups. Options are limited to their specific product line.
Restaurant Supply Stores
Commercial kitchen supply retailers offer lower prices on huge stockpots, sheet pans, and other brewing gear. Quality can be inconsistent.
**Hardware/Home Improvement Stores **
Big box stores sell cheaper propane burners, plastic fermenters, copper tubing for chillers along with other DIY equipment.
Craigslist/Facebook Marketplace
Used listings for equipment are common as homebrewers upgrade their systems. Inspect carefully before purchasing any used gear.
eBay/Other Online Auctions
eBay is a reputable source for discounted new and used equipment. Check seller ratings and details carefully before bidding.
Key Considerations When Buying Cheap Brewing Equipment
It’s tempting to buy the cheapest gear, but this can lead to equipment failures, inconsistent results, and replacing items quickly. When buying discounted equipment:
Evaluate durability – More expensive equipment lasts longer. Weigh replacement costs vs upfront savings on cheaper materials like plastic, thin stainless steel, etc.
Prioritize function – Avoid items with design flaws or missing features like valves even if cheaper. This leads to headaches later.
Inspect closely – Check for damages, wear, leaks, clogs, or corrosion on used equipment. Factor in repair and cleaning time.
Compare brand reputations – Research brand reliability and longevity. Pay more for trusted manufacturers of critical components like burners and kettles.
Common DIY Brewing Equipment Projects
Building your own gear is a great way to customize your brewery on a budget. Some common DIY brewing projects include:
Kettles
- Converting a sanke keg into a brew kettle (“keggle”)
- Fabricating a kettle from stainless steel or aluminum stockpots
- Polishing and modifying aluminum beer kegs into kettles
Burners
- Building a high BTU propane burner with copper tubing and gas fittings
- Attaching a propane burner to a metal stand for stability
- Configuring electric heating elements to make electric kettles
Chillers
- Making an immersion chiller from copper tubing and hose fittings
- Adding quick-disconnects and adapters to chillers for easy assembly
- Building a counterflow chiller from copper tubing and garden hose fittings
Fermenters
- Cutting the tops off kegs to make conical fermenters
- Adding airlocks, spigots, andlid modifications to repurposed tanks
- Building temperature-controlled chambers for fermentation out of wood or insulation
Accessories
- Fabricating stir plates from computer fans, magnets, and speed controls
- Building jockey boxes from old refrigerators or coolers to serve homebrew
- Constructing spunding valves for pressurized fermentation from plumbing parts
Many homebrew shop sell plans and parts for common DIY projects. Use your specialized skills like metalworking, electrical, or woodcraft to customize your brewery.
Sourcing Used Commercial Brewing Equipment
Commercial breweries frequently upgrade their operations and sell off used equipment. Great places to find deals:
- Local microbreweries – Talk to brewers and check “For Sale” ads
- Restaurant supply auctions – Full systems bought by restaurants occasionally resold
- Bankruptcy auctions – Brewer equipment liquidations
- eBay and Craigslist – Individual commercial tanks or hardware listed
- Brewery buy/sell forums – Online exchange for large commercial systems
Types of used pro gear to look for:
- Stainless steel kettles, mash tuns, fermenters, brite tanks
- Kegs – both sanke and ball lock corny kegs
- Glycol chilling systems – jackets, pumps, hoses, plates
- Burners and boilers – propane or electric
- Pumps – centrifugal, diaphragm, or peristaltic
- Heat exchangers, plate chillers, and whirlpools
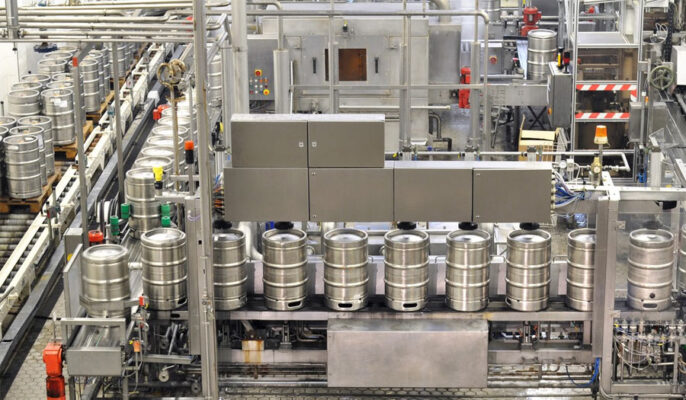
Caution – inspect used gear closely for damage and contamination issues. Expect higher repair and cleaning costs. But huge savings make it worth the effort.
Essential DIY Skills for Building Brewing Equipment
Constructing your own brewery gear requires some key skills:
Metalworking – Cutting, welding, polishing stainless steel for kettles, stands, piping, burners, etc. Requires welders, angle grinders, sheet metal tools.
Electrical – Wiring electrical control panels, switches, pumps, heating elements to make electric kettles, HERMS, etc. Need multimeters, wire strippers, terminals, soldering irons.
Soldering – Soldering copper immersion chiller coils and piecing together other equipment like stir plates and RIMS tubes.
Woodworking – Building fermentation chambers, collar boxes, jockey boxes, storage from wood. Needs saws, drills, and carpentry experience.
Plumbing – Assembling plumbing for pumps, valves, chilling, glycol systems, requires understanding pipes, tubes, and fittings.
Programming – Coding Arduinos, Raspberry Pis, and other microcontrollers to add automation and logging to equipment.
Start simple and work your way up in complexity as your fabrication skills improve. Having access to metalsmithing, electronics, and construction tools expands possibilities greatly for custom brewery projects.
Common Problems and Solutions for Cheap Brewing Equipment
Saving money on homebrew gear sometimes means putting up with certain quirks and faults. Here are some common problems and potential solutions for cheaper equipment:
Thin kettles scorching wort – Use domed kettle bottoms, diffusers, trivets and stir regularly. Upgrade material thickness.
Plastic fermenters scratching – Use soft sponges/brushes only. Replace with glass carboys when finances allow.
Cheap burners rusting and falling apart – Disassemble, clean and dry after each use. Upgrade to a sturdier propane burner.
Immersion chiller leaking – Apply keg lube to o-rings and tighten fittings. Check for kinks in tubing. Test with water only.
Aluminum kettles deforming – Avoid aggressive scraping or cleaning. Consider switching to stainless.
Fermentation temperature fluctuating – Add insulation around fermenter. Use water baths. Move to temperature-controlled chamber.
Buckets warping and cracking – Ensure filled below max line. Replace periodically with new plastic buckets.
Focus on equipment faults that truly impact beer quality and safety. For minor inconveniences, implement process changes or simply accept additional effort required when using budget gear.
Maximizing Efficiency and Quality from Cheap Brewing Equipment
With smart process tweaks, homebrewers can make great beer on inexpensive gear:
- Modify brewing procedures to accommodate equipment limitations
- Add heat diffusers and stir during heating to prevent scorching
- Wrap buckets and carboys to insulate and stabilize fermentation temperatures
- Top up headspace in carboys with sanitized water filled bags during fermentation
- Use a floating thermometer to track fermentation without drilling plastic
- Dry equipment immediately after use to prevent corrosion and rust
- Use soft scrubbers like those made for Teflon to avoid scratching plastic
- Lubricate o-rings and gaskets regularly to prevent leaks in used equipment
- Boil gently with cheap thin-bottomed kettles to prevent boil overs
- Avoid carrying full carboys – use auto-siphons and buckets to transfer beer instead
While cheap equipment takes more effort and care, with some adjustments it can produce brews identical to fancy gear. Focus on precision in your process and beer quality won’t suffer.
Common Upgrades for Improving Cheap Brewing Rigs
As skills improve, consider upgrading these components to take your beers to the next level:
- Plastic to stainless kettles – More durable, eliminates risk of leaching
- Propane to electric heating – More consistent, controllable boils
- Plastic to glass/stainless fermenters – Oxygen impermeability, scratch resistance
- Bottling to kegging – Simpler process, less oxidation, freshness
- Immersion to plate/counterflow chiller – Faster chilling, less risk of contamination
- Carboy caps to airlocks – Prevent suckback and contamination
- Hydrometer to refractometer – Easier use, smaller samples needed
- Bottle capper to bench capper – More consistent bottle sealing
- Digital thermometer – Eliminate calibration, get precision
- Fermentation temperature control – Consistent yeast health and beer
Target upgrades that eliminate recurring hassles or deliver clear beer quality improvements. Use budget equipment creatively until those pieces make sense to upgrade.
Recommended Budget System Component Pairings
Combining affordable brewing gear that works well together is key to maximizing value. Recommended budget system pairings:
- 5-10 gallon aluminum kettle + propane burner
- Plastic fermenting bucket + glass carboy secondary
- Immersion chiller + ice bath prechiller
- Refractometer + trial jar samples
- Reconditioned kegs + regulator + picnic taps
- Digital thermometer + insulation wrap
Look for opportunities to creatively combine cheaper components to mimic functionality of expensive equipment for a fraction of the cost. With smart pairings, you can assemble complete brewing systems for under $200.
FAQ
What are the cheapest options for kettles?
For lowest cost, thin stainless steel or aluminum stockpots work. Under $50 for 5-10 gallons. Use heat diffusers and stir to prevent scorching.
What are the downsides of plastic fermenters?
Plastic buckets scratch easily, leading to places for bacteria to hide. Limited life span before cracking or becoming warped. Difficult to fully sanitize scratches.
How low can I go on a burner BTU rating?
Look for at least 20,000 BTUs for 5 gallon batches. Going lower means very slow heating and boiling.
What are the risks of buying used equipment?
Used gear may have hidden damage or contamination. Inspect closely under good lighting. Test before brewing. May require extensive cleaning and part replacements.
Can I make beer without a chiller?
Yes, you can use ice baths or other cool water methods. But it extends brew day length and risks contamination. Chillers are recommended.
What household items can I use for brewing equipment?
Pots, fermentation buckets, plastic tubing, and thermometers make good substitutes. Avoid lead crystal or reactive metals.
Should I build my own equipment as a beginner?
Start simple with kits and upgrades. As skills improve, building custom equipment lets you save money. But start simple.
How can I identify quality equipment if I’m on a tight budget?
Look at thickness and durability of metals, clarity of plastics, sturdiness of parts like burner legs and valves, ease of taking apart and cleaning.
What are signs of wear when inspecting used equipment?
Corrosion, dents and scrapes, leaky seals, limescale buildup, stripped or broken fasteners, missing or damaged parts, electronics not working. Avoid if unsure.

